DRILLING AND TAPPING YOUR MANIFOLD - Getting Started
|
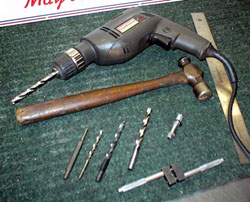
TOOLS
Drilling and tapping your manifold can be accomplished in the comfort of your own garage with simple tools you may already own or can easily purchase locally. The following illustrations and instructions will guide you step by step through the process. Please call Monroe Sales & Service at any point if you run into any difficulties or have any questions.
|
 |
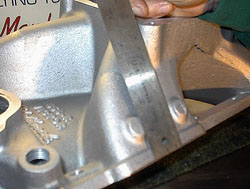
LOCATION
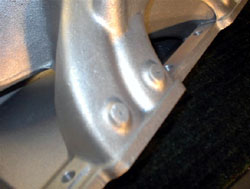
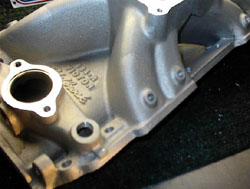
The injector is to be positioned approximately 1" to 1.5" up from the bottom of the intake manifold and when viewed from the bottom, it needs to be centered in the intake runner. Many manifolds are cast with injector bungs from the factory such as the highly recommended Edelbrock 454 Series manifolds. The 454R with rectangular port (#2907) is used for this installation. This particular manifold's bungs are positioned in the ideal location for proper injector installation. |
 |
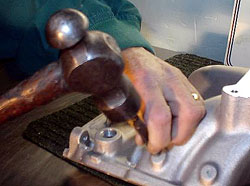
LETS GET STARTED!
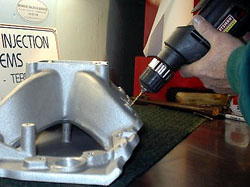
Now that you have carefully determined the location of your injector installation and marked the manifold accordingly, it is time to center punch for drilling.
|
 |
PILOT HOLE
The most important part of this process will be drilling the pilot hole properly. This step will determine the orientation of the injector and needs to be accomplished as straight as possible and at a 90-degree angle to the runner. Use a 1/8" (.125") bit for the pilot hole.
|
|
R-BIT
Enlarge the hole with a 1/4" (.250") bit which will lead the way for the final drilling accomplished with an R (.3390) bit.
|
 |
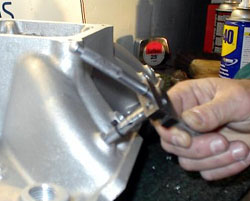
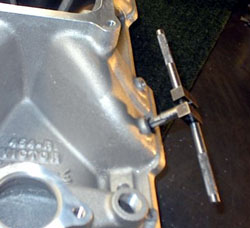
TAPPING
To tap the injector hole a 1/8" NPT pipe thread tap is utilized. If you are not experienced tapping, below are a few tips that will help you through the process.
Practice a couple injector installations elsewhere before working on your manifold. A friend's manifold may be a good place to start.
To set depth, mark the tap with a plastic tie or piece of tape to ensure that the hole is not tapped all of the way through. If tapped all the way through, the injector will not tighten up properly.
Start the tap in the hole as straight as possible cutting a few threads at a time and backing back out. Cleaning the debris away with compressed air and utilizing plenty of WD-40.
|
 |
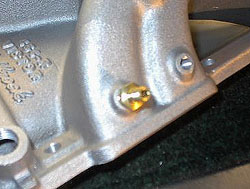
INJECTOR INSTALLATION
Notice the index mark on the top of the injector. Install the injector and leave the mark facing upward, this will ensure that the injector is spraying down the intake runner. A slight amount of Teflon tape can be used to seal the thread although it is not mandatory.
|
 |
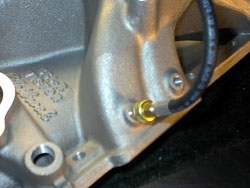
FINAL STEPS
Install the breather, O-ring and hood. And finally, drop the nozzle jet in the top of the injector, tighten the injector line and you are finished.
|
|